-
Author
Craig Moller -
Date
16 Apr 2020
Essay
How to: A Maker's Guide - Draw A Building
I outline below the process for one of my typical drawings. I have done the drawing in three similar but different media depending on what people have available to draw with.
You could use:
-An iPad to make a drawing (I use Morpholio Trace but any of the draw programmes would suit). There are a range of tools: pencils, felt pens, brushes
-Watercolour and ink (Rotring pens) is the typical media that I use but realise not everyone uses or likes watercolour
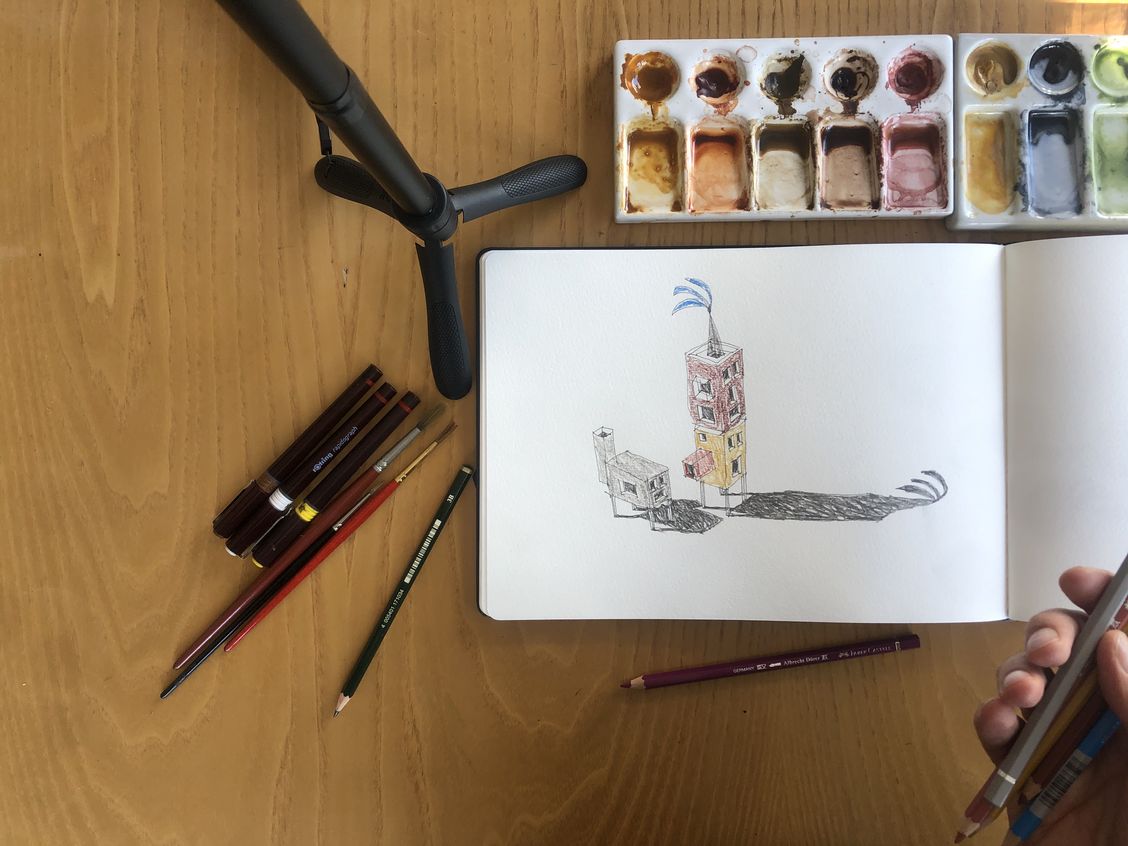
-Pencil and coloured pencils (mine are watercolour pencils, hence the last stage of the image)
-The photos are taken on the selfie stick I was using as a tripod for the time lapse. Again, using the tools to hand as the selfie stick is an not ideal tripod (it kept falling over) but workable. Equally if people like doing time-lapse video, they could use a stack of books etc.
Method: (watch the timelapse video of ink pen and watercolour here, pencil and colouring pencils here and the iPad drawing app here)
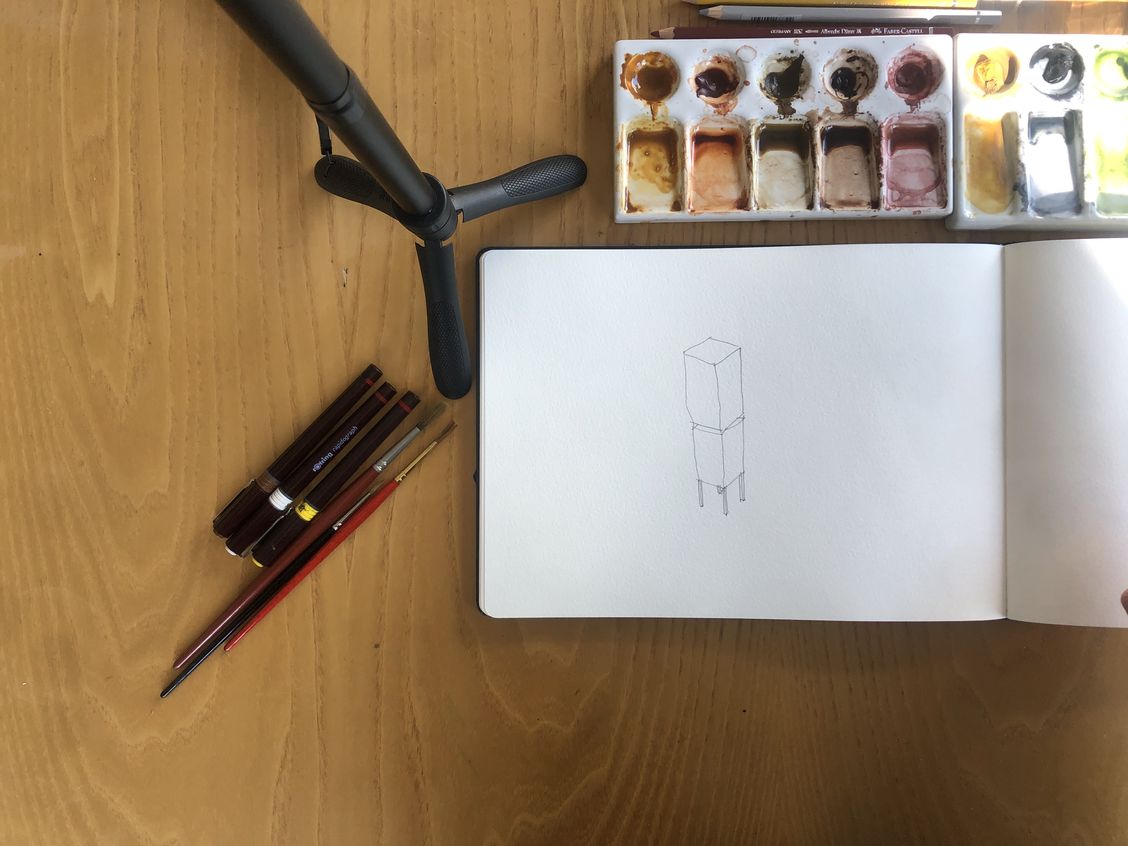
1. Think about what you want to draw before you start as I don’t sketch an outline beforehand but draw first time. Potentially tricky in ink as there is no going back once you start.
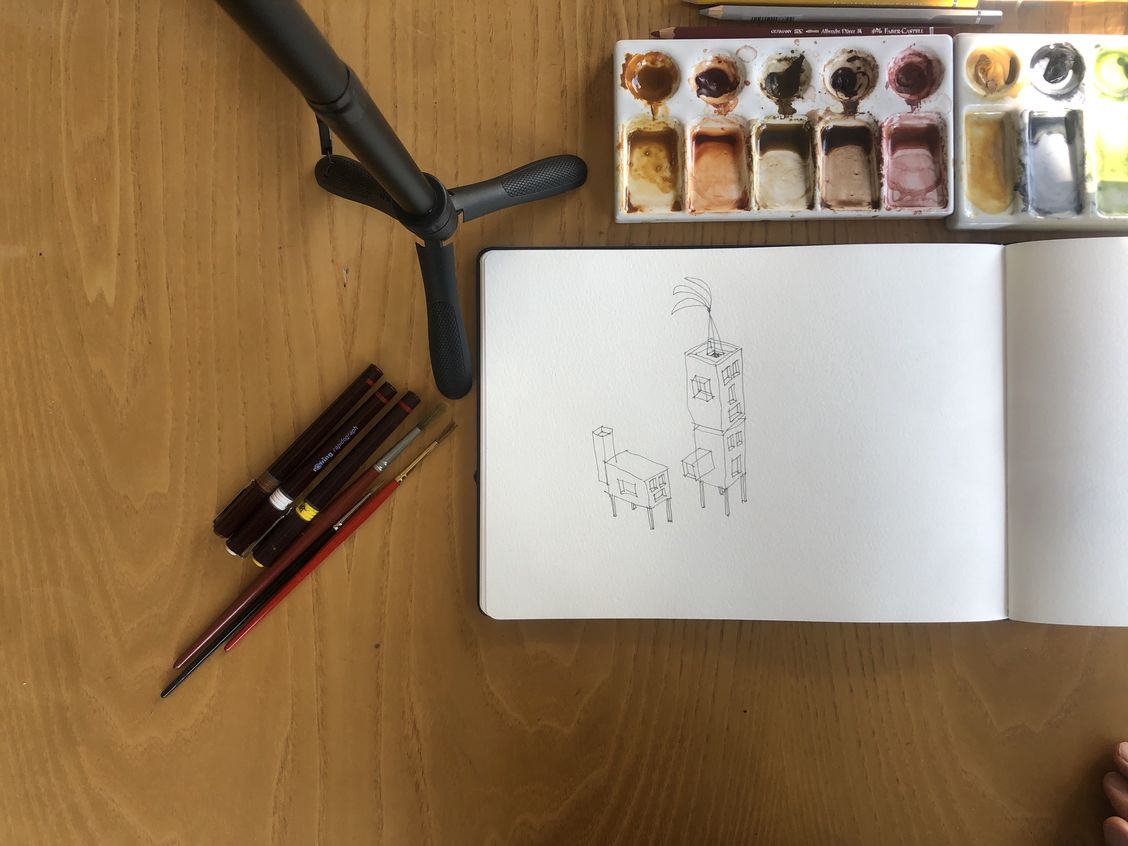
2. The technique I have developed and use for my drawings (drawing like I’ve had too much coffee) is the shaky line. Don’t be too concerned with drawing a true perspective or axonometric but let the quirkiness of the deviations and mistakes come through in the drawing, don’t be too precise. But I start in the middle or near middle of the page and work outwards.
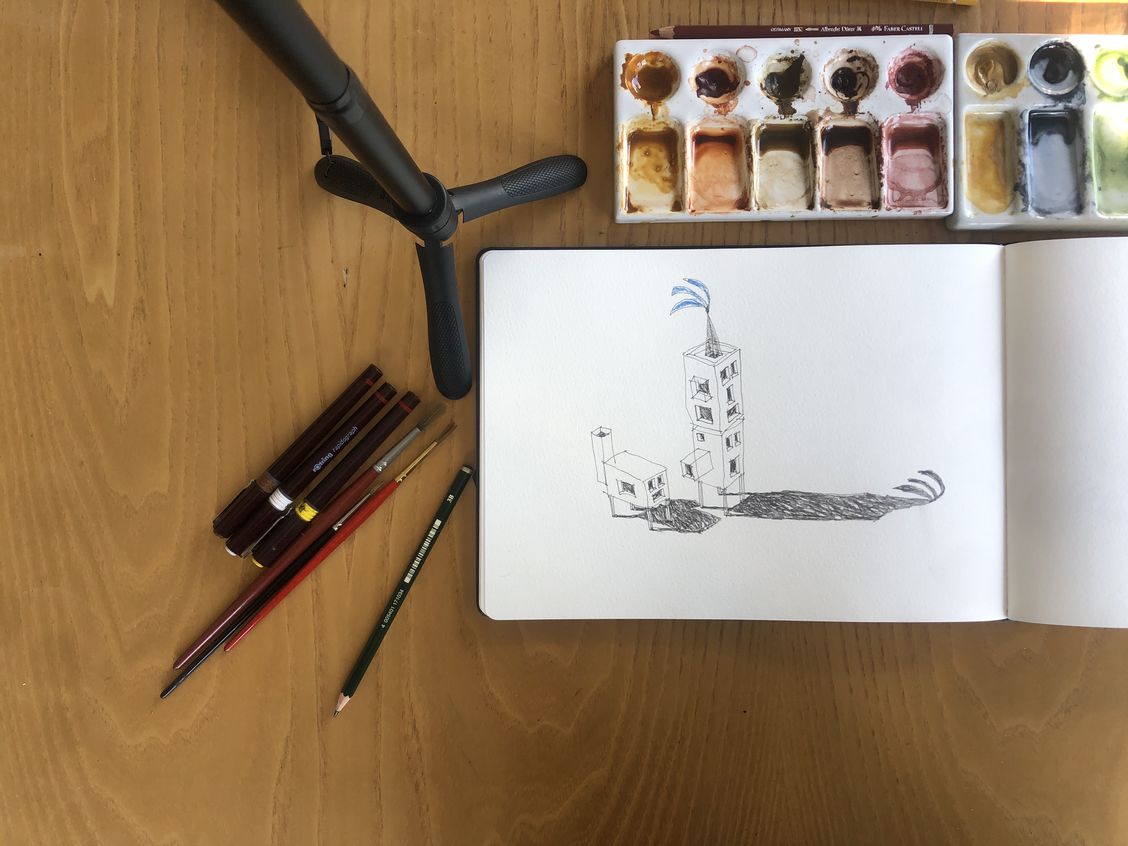
3. Once the outline is completed, apply the shadows, in the manner of Giorgio de Chirico, long and autumnal and falling forward or to the side. Again I am not worried as to how correct the shadows are, for example note the face casting the shadow remains sunny. This includes drawing the windows black like no one is at home. In these drawings the shadows appear to be talking back to the building object. I tend to scribble the shadows working the pen or pencil back and forward. Don’t be too concerned with the white gaps.
4. After that apply the colour (pencils, watercolour, digital colour) as an overlay generally keeping within the lines you have drawn but don’t be too worried about going over. If using watercolour, allow each colour to dry to avoid the colours bleeding into each other.
5. If the drawing does not quite work out as expected (as it often does) move onto the next one, start again and practice, practice, practice. I am still practicing.
I have been developing the recent series of drawings to adopt people like characteristics with placement of windows and openings together with appendages, a reflection on the current isolation but the subject matter is up to the individual.
--
Craig Moller is a director at Moller Architects and has degrees in architecture from the University of Auckland and Yale University. He teaches studio at the University of Auckland School of Architecture and Planning. He has taught previously at Victoria University School of Architecture and critiqued at the School of Architecture, Unitec. He is on the Board of Trustees at Western Springs College/Ngā Puna o Waiōrea & TAPAC. He draws in his spare time and rides a bike.
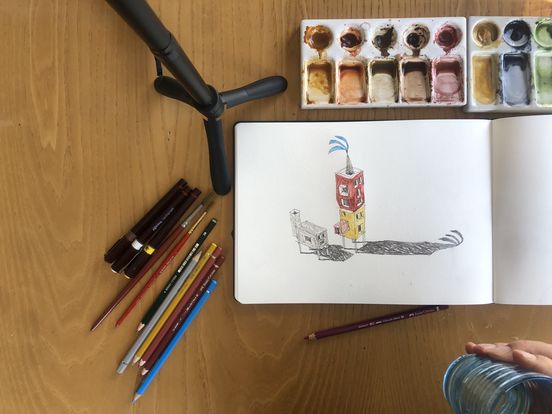
Image: Craig Moller

